


Cutting extra-thick glass—typically 10mm to 19mm or more—demands a fundamentally different approach than trimming a standard 3mm pane. The thicker the glass, the greater the internal stress, which makes improper scoring or snapping almost certain to produce jagged fractures, chipped edges, or complete breakage. Whether you are fabricating custom tabletops, aquariums, architectural panels, or heavy-duty shelving, you need a precise methodology. Drawing on decades of fabrication experience, we at DISAI have refined the process to help you achieve clean, crack-free cuts consistently.
Why Thick Glass Requires a Different Cutting Strategy
Standard glass cutters work by creating a shallow score line that weakens the surface. On thin glass, the crack naturally follows this line when pressure is applied from below. However, extra-thick glass stores more elastic energy. If you simply increase pressure with a handheld tool, the glass tends to crack along unintended paths, especially near the edges. The key is to control the fracture front with a combination of deeper scoring, proper lubrication, and a controlled breaking technique.
Essential Tools for Cutting Extra-Thick Glass
Before attempting any cut, verify that your equipment is suitable for the material thickness. Using a standard 2mm cutter on 19mm glass is a recipe for failure. Here is what a professional setup should include:
- Carbide-wheel cutter rated for heavy glass – Choose a wheel with a larger angle (typically 135° to 160°) designed to penetrate thicker glass without chipping.
- Cutting oil with proper viscosity – Good lubrication reduces friction and helps the crack propagate cleanly. Do not substitute with household oil that may be too thin.
- Straightedge guide with non-slip backing – Any movement during scoring will ruin the line. Secure the guide firmly.
- Breaking pliers or a straight-breaking fixture – For thick glass, manual snapping by hand is rarely precise enough. A fixture with support bars allows you to apply even, localized pressure.
- Protective equipment – Safety glasses, cut-resistant gloves, and closed-toe shoes are non-negotiable when handling large, thick sheets.
Step-by-Step Process: How to Cut Extra-Thick Glass Without Cracking It
Step 1: Prepare Your Workspace and Glass
Clean the glass surface thoroughly. Any dirt, grease, or old residue will dull the cutting wheel and cause unreliable scoring. Place the glass on a flat, stable workbench with a soft rubber mat or two layers of thick felt underneath. This allows the glass to flex slightly when pressure is applied—enough to initiate the break but not enough to cause stress fractures.
Step 2: Mark the Cut Line Accurately
Use a non-permanent marker and a precision steel rule. Mark both the top and bottom edges of the desired cut. For extra-thick glass, you also need to score the side edges slightly—this helps start the crack cleanly. Many fabricators skip this step, leading to failure at the edges where the fracture front struggles to begin.
Step 3: Apply Lubrication Generously
Pour a continuous line of cutting oil along the planned score path. The wheel must remain wet through the entire stroke. Do not stop in the middle to add more oil, because a pause changes the pressure and angle, creating an uneven score. A steady, uninterrupted pass is critical.
Step 4: Score with Controlled, Consistent Pressure
Hold the cutter at a 45-degree angle to the glass surface, perpendicular to the cut direction. Press down with firm, even force—imagine you are trying to make a single, continuous groove. The optimal pressure varies with glass thickness: for 10mm glass, moderate force; for 19mm, strong but not crushing. Start the score 2–3mm from the far edge and finish the same distance from the near edge. Avoid running off the edge, as that will create a weakened spot.
Step 5: Tap Along the Score (The 'Opening' Step)
After scoring, turn the glass over. Use the ball end of the cutter to gently tap along the underside of the score line. Do not strike hard—just enough to hear a subtle 'click' and see a faint crack develop. Work from one end to the other. This step relieves internal stress and makes the subsequent snap much cleaner.
Step 6: Snap the Glass Using Even Support
Place the glass on the workbench with the score line aligned exactly with the edge of the table, or better, use a snapping fixture. Position the score line just above the support edge, with the scored side facing up. Apply quick, downward pressure on the overhanging portion using both hands, positioned close to the score line—not far out on the sheet. For extremely thick glass (15mm+), use breaking pliers on the overhang, starting at one edge and walking along the line. Never try to pull the glass apart; always use a bending action.
Common Mistakes That Cause Cracks and How to Avoid Them
Even experienced fabricators encounter failures. Below are the most frequent errors and their solutions:
- Insufficient lubrication – Without oil, friction heats the glass and causes micro-chips that propagate into cracks. Always use a dedicated cutting oil.
- Scoring twice over the same line – Do not go back and re-score. A second pass damages the wheel and creates a ragged edge. Trust your first continuous stroke.
- Wrong breaking technique – Pressing down too gently reduces the leverage; too quickly causes a shock wave. Practice a controlled, decisive snap.
- Cutting without a side score – For glass thicker than 12mm, you must score the edges. Many cracks originate precisely because the crack has no clear entry point.
Professional Solutions: Advanced Tools and Machines from DISAI
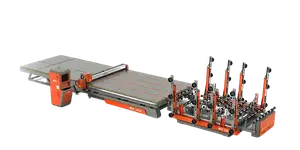
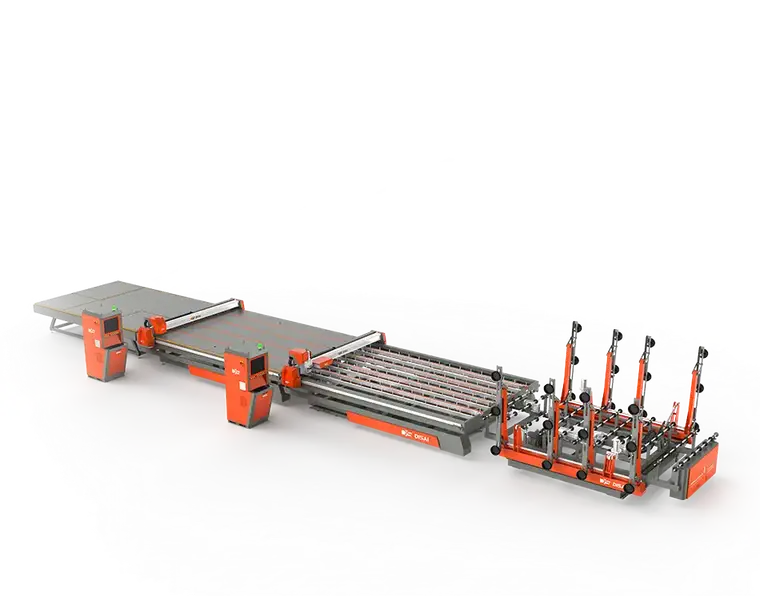
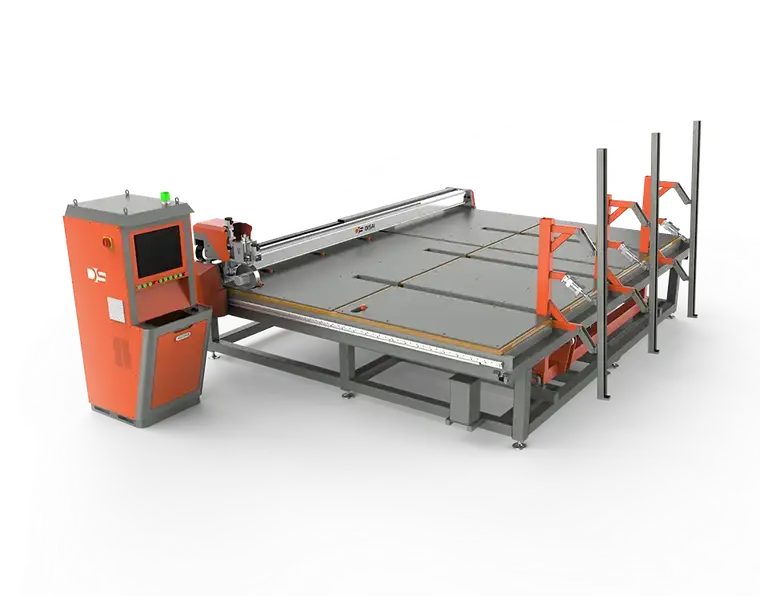
For those who cut extra-thick glass regularly, manual methods are time-consuming and inconsistent. DISAI offers a range of automated glass cutting solutions that maintain perfect score depth, speed, and pressure, eliminating the human variables that cause cracks. Our machines are widely used in the architectural and furniture industries where precision on thick glass is non-negotiable.
Benefits of DISAI Automated Cutting Systems
- Constant wheel pressure – No fatigue factor, so every score has identical depth.
- Programmable scoring patterns – Easily adjust for different glass thicknesses without manual recalibration.
- Automatic lubrication – Ensures a consistent oil film for every cut.
- High efficiency – Reduce production time by up to 80% compared with manual cutting.
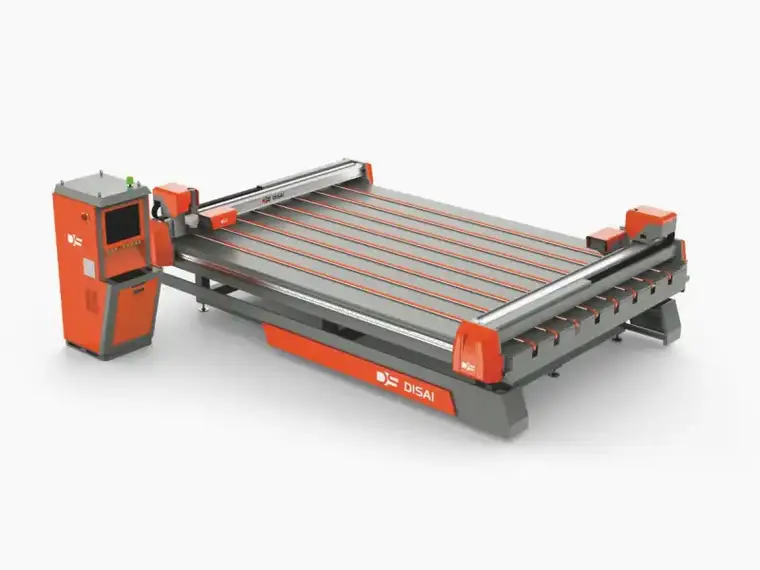
If you are manufacturing at scale, investing in a professional cutting table is the most reliable way to minimize waste and maximize edge quality. DISAI has equipped hundreds of workshops worldwide, helping fabricators confidently handle 19mm, 25mm, and even thicker glass with crack-free results.
Final Tips for Flawless Thick Glass Cutting
To summarize, three principles dominate: clean surface, consistent score, controlled snap. Always prepare the glass properly, use the right tool for the thickness, and never rush the process. If you encounter recurring failures, check your wheel sharpness and oil quality first. With practice and proper technique, you will achieve professional-grade cuts every time.
For those interested in stepping up their fabrication capability, explore DISAI’s range of glass cutting machines. Our team is ready to advise on the best solution for your specific glass thickness and production volume.